
 The trunk was in pretty bad shape. It was falling apart along the corners, and was warped from water damage in certain places. The bottom of the trunk was severely deteriorated. The hardware was rusted, but in good shape. The actual locking mechanism was missing, but that was no big deal to me.
The first thing I did was to secure the corners with screws, countersinking them. This allowed large gaps between the interlocking sides to be closed, and to help correct some of the warping. This was done for both the body of the trunk, and for the lid.
From there, I power-washed the entire thing, to remove dirt and dust. This was done for both the exterior and the interior of the trunk. It also stripped away some of the old stain and paint that had been applied through the years.

Following power washing, I disassembled the lid and the body, as well as the old hardware. At that point, by hand and by power sanding, I sanded the entire trunk, hitting every angle, surface, and side. That took off the majority of the paint and some of the stain. I then used tack cloth to remove dust from the body and the lid.

Because rain, and with open windows and doors, I set about repairing the lid by using wood putty. Because the wood putty was oil-based, it smelled horrible -and was dangerous to inhale. Large sections of the ridge on the lid were missing entirely, and I had to completely reconstruct them by building up three layers of the putty. I also took care to fill in major dents and surface abrasions on the lid, as well as the body. This was accomplished using a paint stick.

Later the following day, after time for drying, I set about by hand to sand down most of the excess putty, using an electric sander for a few of the larger areas. From there, I marked out the line of the lid ridge with a pencil.

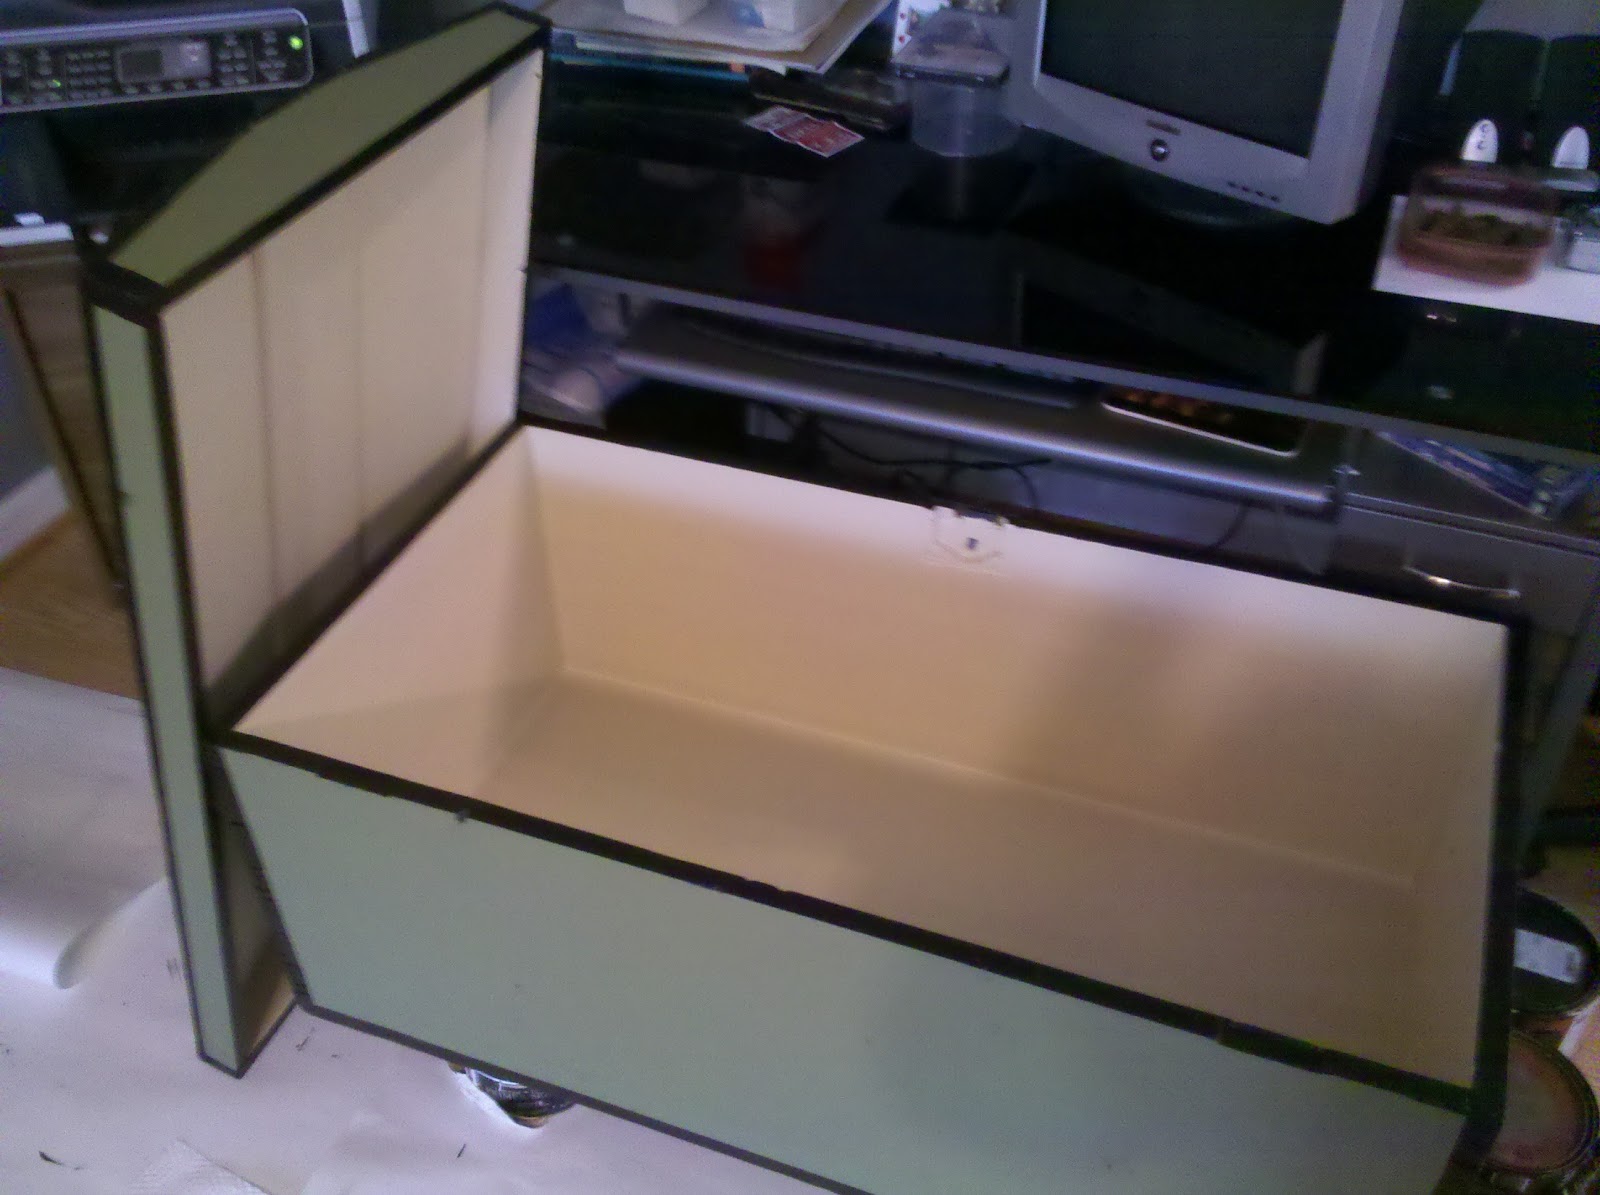
At this point, I used a chisel and a hammer to carefully chip away the wood putty along the line I'd traced. Following dusting, I used caulk to fill in small nail holes, cover up screws, and to smooth out smaller surface dents and abrasions. I also refitted the interior floor of the trunk by putting in a quarter-inch piece of plywood for a smooth surface, using Liquid Nails, and caulked it.

With the the trunk's body and lid secured and repaired, I set about painting. I used some old paint in the basement from work for this -and fortunately, the colors I wanted to paint the trunk were downstairs. I used Duron (now Sherwin-Williams depending on the branch location) Row House Tan (flat, in three coats) to paint the inside of the trunk, and a high gloss black (in two coats) to paint the edges, corners, and bottom of the trunk.
From there, after thorough drying, I used inch-wide Scotch Blue Painter's Tape to cordon off the black sections, and set to work hitting the exterior body with Duron's Olive Grove in flat (two coats). While waiting for each coat to dry, I set to work sanding and painting the hardware in metallic bronze paint. New hinges and a handle for the lid were also purchased, and painted the same color. Each piece of hardware received two coats.
With everything reassembled:

I'm not sure what uses this trunk saw in its previous life. I have absolutely no idea what I'll use it for in the future, but at the moment, there are blankets being kept inside. Beyond being able to transform and save something physically, I was able to salvage and preserve a little piece of American history. And that, I think, is the best part of all of it.
No comments:
Post a Comment